
Desserts
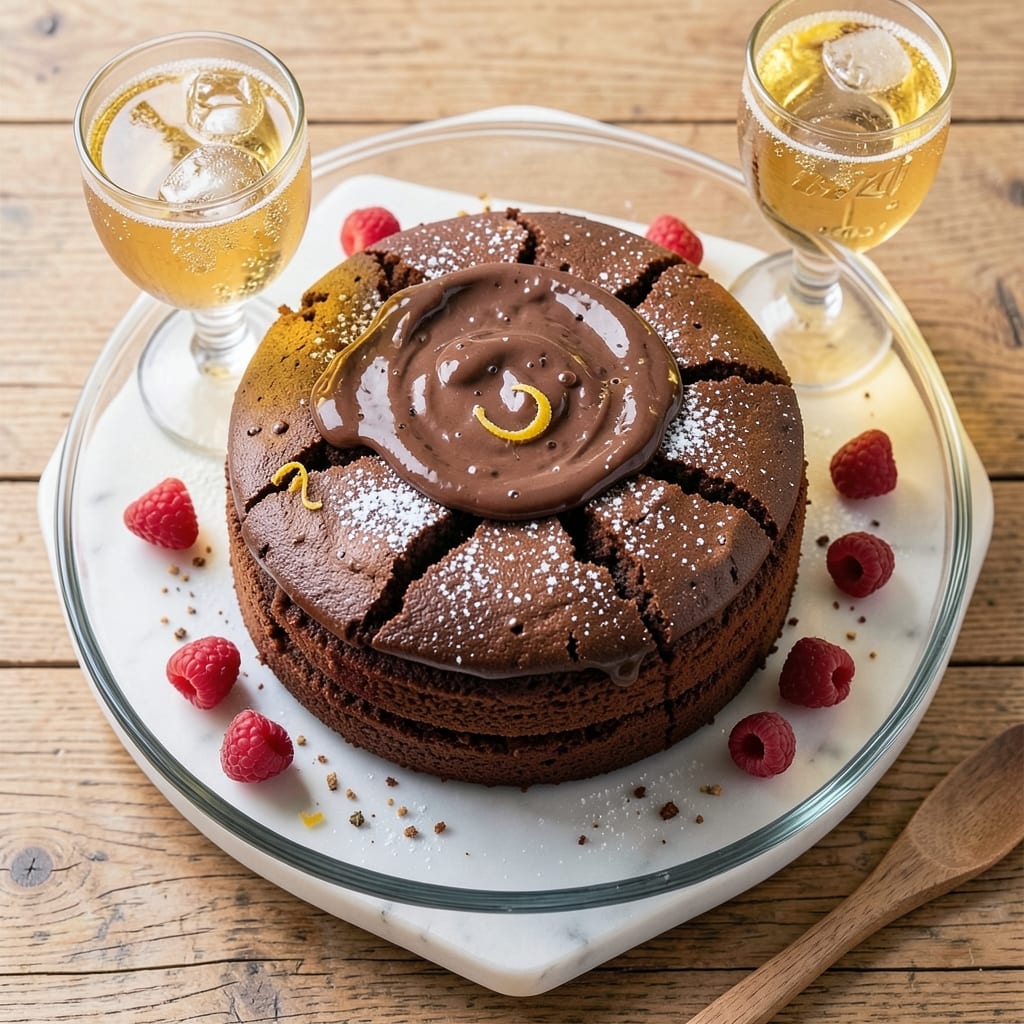
This 7-Up chocolate cake recipe delivers the perfect balance of rich cocoa and bright citrus notes that make every slice unforgettable. The secret lies in replacing water with 7-Up soda—its natural carbonation creates a light, airy texture while the citrus flavors infuse the batter, giving you a moist cake that’s anything but ordinary. I’ve baked this recipe countless times, and it never fails to impress, whether served at birthday parties or as a decadent dessert for two.
The cake’s magic comes from the chemical reaction between the soda’s acidity and baking soda, producing a tender crumb with just the right amount of bounce. Pair it with a tangy cream cheese frosting to enhance the citrus-chocolate harmony, or drizzle with homemade 7-Up syrup for an extra layer of flavor. This recipe is beginner-friendly, with straightforward steps and a foolproof method that ensures consistent results every time.
What you’ll end up with is a moist, flavorful cake that’s rich in chocolate but brightened by the subtle citrus undertones of the 7-Up. The frosting adds a creamy contrast, making each bite a perfect balance of sweet and tangy. It’s the kind of dessert that feels special without requiring advanced baking skills—just a few simple ingredients and a little patience.
Serve slices at room temperature with a dollop of whipped cream or a sprinkle of crushed graham crackers for added texture. This cake also reheats beautifully, making it perfect for meal prep or leftovers. Let’s get baking!
Ingredients for 7 up chocolate cake
The secret to this citrus-chocolate magic starts with these 13 simple yet powerful ingredients.
| Ingredient | Amount | Notes |
|---|---|---|
| 7-Up Soda 🥤 | 1 ½ cups | Chilled for best flavor infusion |
| All-Purpose Flour 🌾 | 2 cups | Sifted for light texture |
| Granulated Sugar 🍚 | 2 cups | White or light brown |
| Unsweetened Cocoa Powder 🍫 | ¾ cup | Dutch-processed preferred |
| Baking Soda 🧂 | 2 tsp | Freshly opened |
| Salt 🧂 | ½ tsp | Fine sea salt |
| Vegetable Oil 🫒 | 1 cup | Light or canola oil |
| Vanilla Extract 🌿 | 2 tsp | Pure vanilla preferred |
| Large Eggs 🥚 | 2 whole | Room temperature |
| Cream Cheese 🧀 | 8 oz | Room temperature, full-fat |
| Butter 🧈 | ½ cup | Unsalted, room temperature |
| Powdered Sugar 🍚 | 3 cups | Sifted for smooth frosting |
| Lemon Juice 🍋 | 1 tbsp | Freshly squeezed |
The 7-Up is non-negotiable here—grab a fresh can from the store (the fizzier, the better). I always use Dutch-processed cocoa powder like Hershey's Special Dark for that velvety finish, but regular cocoa works too. For the cream cheese, Philadelphia brand is my go-to—it whips up smoother than store-brand stuff. The eggs? Room temperature makes all the difference in a tender crumb. Pro tip: Measure your flour by spooning it into the cup and leveling it off—don't scoop directly from the bag or you'll end up with a dense cake.
No 7-Up? Sprite or lemon-lime soda works in a pinch, but the flavor won't be quite the same. Short on cocoa? Hot cocoa mix at half the amount gives you that chocolate base, though it won't be as rich. The frosting can be made ahead—just refrigerate it for up to 3 days or freeze for 1 month. For extra zing, add a splash of lemon extract to the frosting. And if you're feeling fancy, drizzle with homemade 7-Up syrup (simmer 1 cup sugar + 1 cup 7-Up for 5 minutes).
This cake keeps beautifully—3 days at room temperature covered loosely, or 1 week refrigerated in an airtight container. The frosting? 2 days at room temp or 1 week refrigerated. I like to wrap the whole cake in plastic wrap and store it in the fridge, then bring it to room temp before serving. The flavors actually deepen overnight, so it's perfect for making ahead. And if you've got leftovers? Warm slices in the microwave for 10 seconds to bring back that gooey texture.
Why You'll Love This Recipe
- No Mixer Needed: I swear by this recipe when I’m too lazy to pull out the stand mixer—just stir the 7-Up into the batter until it’s smooth. The soda lightens everything effortlessly, so you end up with a cake that’s moist without a single drop of oil.
- Citrus-Chocolate Magic: That 7-Up isn’t just a mixer—it’s the secret. The lemon-lime fizz cuts through the rich cocoa powder, giving you a bright, almost tangy chocolate flavor that’s way more interesting than your average boxed cake. Honestly, it’s the kind of twist that makes me reach for this recipe instead of the usual.
- Birthday Party Hack: This cake is my go-to for last-minute celebrations because it’s foolproof and always a hit. The 7-Up makes it light enough to slice neatly, and the cocoa powder gives it that classic chocolatey vibe kids (and adults) love. Plus, it’s cheap enough to make two layers if you’re feeling fancy.
- Budget-Friendly Leftovers: A single batch feeds six, but my family usually polishes it off in two days. The best part? The leftovers reheat beautifully—just pop a slice in the microwave with a splash of milk, and it’s like dessert all over again. No sad, dry cake here.
Step-by-step instructions for 7-Up chocolate cake
This citrus-infused chocolate cake delivers perfect moisture and rich flavor every time.
Mix Dry Ingredients for Light Texture
In a large mixing bowl, sift together the 2 cups all-purpose flour, 0.75 cup unsweetened cocoa powder, 2 tsp baking soda, and 0.5 tsp salt. Use a whisk to break up any lumps and create a smooth base. This step ensures your cake will be tender rather than dense—those tiny air pockets make all the difference.
Set the dry mixture aside while you prepare the wet ingredients. I like to use a fine-mesh sieve for the cocoa powder to avoid gritty texture. This is especially important since we're using Dutch-processed cocoa which can sometimes be slightly coarser than natural cocoa.
Combine Wet Ingredients for Perfect Moisture
In a separate large bowl, whisk together the 1.5 cups chilled 7-Up soda, 2 cups granulated sugar, 1 cup vegetable oil, 2 tsp vanilla extract, and 1 tbsp freshly squeezed lemon juice. The cold soda helps create a light, airy texture while the lemon juice adds that bright citrus note that balances the chocolate.
I always use room temperature eggs, but keep the soda chilled until the last moment. The acidity in the soda reacts with the baking soda to create lift, and cold soda prevents the eggs from cooking prematurely. Whisk vigorously for about 1 minute until the mixture is smooth and fully combined.
Incorporate Eggs and Combine Mixtures
Add the 2 whole room temperature large eggs, one at a time, whisking well after each addition. The eggs help bind everything together while adding structure. Then gradually add the dry ingredients to the wet mixture, mixing on low speed just until combined—about 30 seconds.
Here's the thing—don't overmix. You'll know it's right when there are just a few flour streaks remaining. Overmixing develops gluten which makes cakes tough. The batter should be thick but pourable. Pour the batter into two 9-inch round cake pans lined with parchment paper.
Bake to Perfect Doneness
Preheat your oven to 350°F. Bake the cakes for 30-35 minutes or until a toothpick inserted in the center comes out clean. The edges should be set but the tops should still look slightly soft—they'll firm up as they cool.
I always tap the sides of the pans gently about 5 minutes before the suggested time to check doneness. The cakes are done when they spring back slightly when touched. Let them cool in the pans for 10 minutes before transferring to a wire rack to cool completely.
Prepare Cream Cheese Frosting
While the cakes cool, beat the 8 oz room temperature cream cheese and 0.5 cup butter together until smooth. Add the 3 cups powdered sugar and mix until fully combined. The mixture should be light and fluffy—this is where you get that classic cream cheese frosting texture.
Add the 1 tbsp lemon juice and mix just until incorporated. The lemon juice brightens the flavor and cuts through the richness of the cream cheese. Spread the frosting between the layers and on the top and sides of the cooled cakes. The frosting should be smooth and hold its shape well.
Pro Tips For Making 7 Up Chocolate Cake
- Use Room-Temperature Soda: I learned this the hard way—cold 7-Up makes the batter too thick and dense. Let the soda sit out for 10-15 minutes before mixing, especially in cooler kitchens. The bubbles work better when they’re not fighting chilled liquid.
- Sift the Cocoa First: That cocoa powder is stubborn. Sift it with the flour and baking soda to avoid lumps in your batter—trust me, you’ll notice the difference in texture. No sifter? Use a fine-mesh strainer and tap it gently with a spoon.
- Don’t Overmix the Batter: Once you add the eggs and soda, stop mixing after 30 seconds. Overworking it turns the cake dense and tough. The 7-Up needs to stay fizzy, not get beaten into submission.
- Check Oven Temp Early: Preheat that oven to 350°F, but slide a toothpick in at 25 minutes. If it comes out clean, pull it—this cake dries out fast. I’ve ruined batches by letting them bake too long, so resist the urge to peek until then.
Make-ahead tips for 7 up chocolate cake
Prep Ahead Strategy
Make the cake batter up to 24 hours ahead and refrigerate it in an airtight container. The flavors meld beautifully overnight, and the cold batter bakes up even more tender. I like to cover the bowl with plastic wrap directly on the surface to prevent a skin from forming. When ready to bake, let the batter sit at room temperature for 30 minutes before pouring into pans. 💫
Frosting Prep
The cream cheese frosting can be made 3 days ahead and stored in the refrigerator. When ready to use, beat it briefly with a hand mixer to restore its fluffy texture. For extra convenience, pipe the frosting into a plastic bag with a small corner snipped off and store it that way—just squeeze it directly onto the cake when ready. This saves time and keeps it looking professional. ✨
Layer Assembly
Assemble the cake layers 4-6 hours before serving to allow the frosting to set properly. I recommend using a long serrated knife to level the cake layers evenly. Wrap the assembled cake in plastic wrap and refrigerate until serving time. The cold temperature helps the frosting hold its shape perfectly. For a showstopping presentation, chill the cake for 1 hour before decorating. 🎂
Freezing Tips
This cake freezes beautifully—wrap each layer individually in plastic wrap, then place them in a freezer bag with all the air squeezed out. Thaw overnight in the refrigerator before frosting. The frosting itself can be frozen for up to 1 month in an airtight container. When thawed, it may look slightly grainy, but a quick beat with a mixer restores its smooth texture. 🥶
Reheating Leftovers
For the best texture, reheat individual slices in the microwave for 10-15 seconds on medium power. This brings back that moist, gooey texture without overcooking the edges. If you prefer oven reheating, bake at 300°F for 5-7 minutes covered with foil. Never microwave the whole cake at once—the frosting can melt unevenly. 🔥
Make-Ahead Serving
This cake is perfect for parties—bake it the day before and store it at room temperature covered loosely. The flavors actually improve as it sits! For a restaurant-quality presentation, dust with powdered sugar or add a drizzle of 7-Up syrup (simmer 1 cup sugar + 1 cup 7-Up for 5 minutes) just before serving. The citrus notes will shine even more after resting. 💛
Nutrition facts
Frequently asked questions
Why does 7-Up make this chocolate cake so moist?
The soda's natural carbonation creates tiny air pockets in the batter, while its acidity reacts with baking soda to produce lift and moisture. This chemical reaction gives the cake that signature tender crumb you can't get with water alone. The citrus flavors also balance the richness of the chocolate perfectly!
Can I substitute Sprite or lemon-lime soda for 7-Up?
Yes, but you'll lose some of the unique flavor. Sprite works in a pinch, though it lacks 7-Up's signature citrus-lime blend. For best results, use 1.5 cups of regular 7-Up. If you're feeling adventurous, add 1 tsp lemon extract to the batter to compensate for the flavor difference.
How do I fix a cake that's cracked or sunken?
Overbaking is usually the culprit. If your cake cracks, try baking at 325°F instead of 350°F for 5-10 minutes longer to ensure even cooking. For sunken centers, check your oven placement—position racks in the middle and avoid opening the oven door too soon. A toothpick test is key: it should come out clean but slightly moist.
What's the best way to store leftovers?
Keep the cake in an airtight container at room temperature for 2-3 days. For longer storage, refrigerate for up to 1 week or freeze individual layers for 3 months. The frosting can be refrigerated separately for 5 days or frozen for 1 month. Always let it come to room temperature before serving.
Can I make this cake in a single layer?
Use a 10-inch round pan and reduce baking time by about 5-7 minutes. The batter quantity remains the same, but you'll need to adjust oven temperature to 325°F to prevent overbrowning. This works especially well for cupcakes—divide the batter into 24 cupcake liners and bake for 20-22 minutes at 350°F.