
Desserts
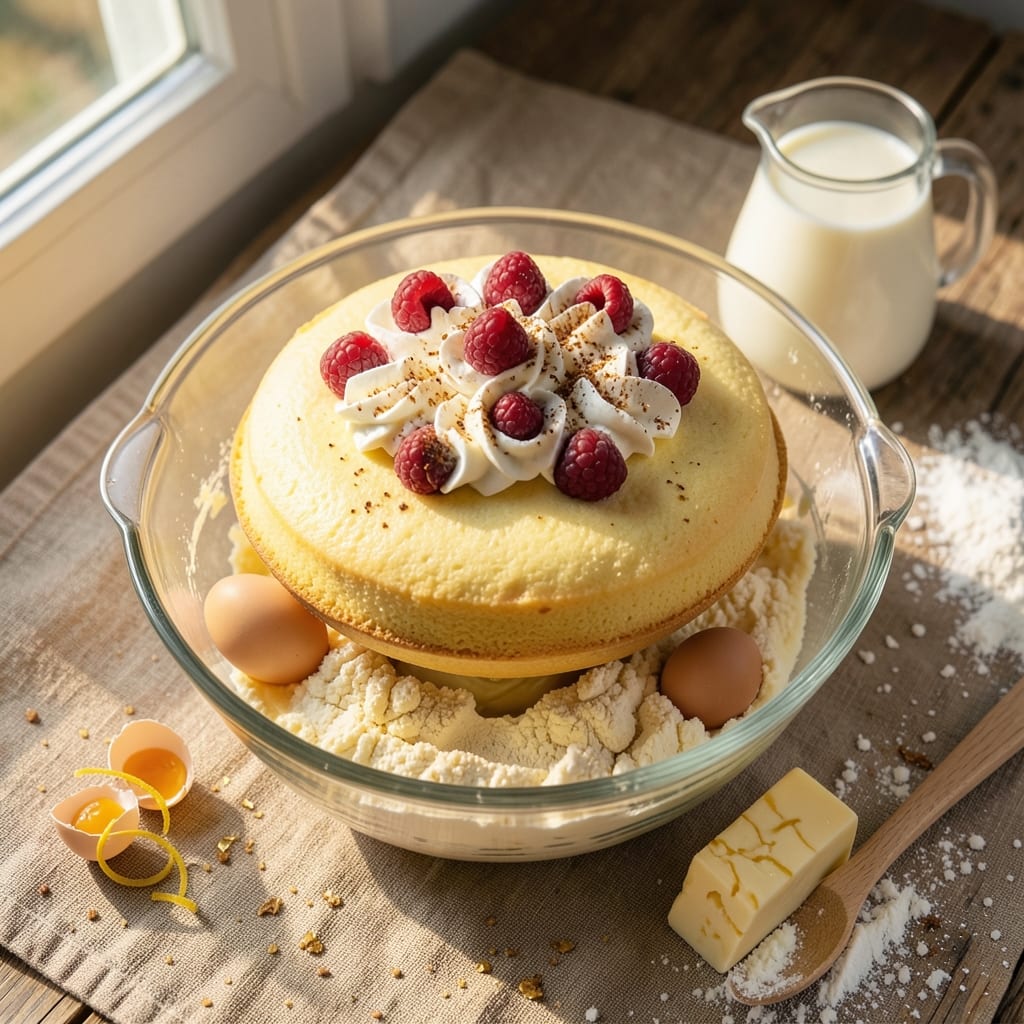
All-purpose flour yellow cake delivers that perfect balance of tender crumb and golden crust—no cracks, no dryness, just reliable, restaurant-quality results every time. I’ve baked this recipe dozens of times for family gatherings and holidays, and it never fails to impress. The secret lies in precise mixing techniques and understanding how flour behaves at different temperatures.
This recipe starts with a simple batter of all-purpose flour, buttermilk, and eggs, combined in a way that ensures maximum moisture without compromising structure. The baking powder and baking soda work together to create lift, while vanilla extract adds depth that makes it taste homemade. What sets this apart is the 350°F oven temperature, which guarantees even baking and a perfect rise.
By the time it emerges from the oven, you’ll have a cake with a crisp, golden crust and a moist, evenly textured interior that crumbles just enough. The beauty of this recipe is its versatility—add a splash of lemon zest for brightness, fold in chocolate chips for indulgence, or keep it classic with a simple vanilla buttercream. It’s the kind of cake that tastes like nostalgia, but with a foolproof method that works every time.
Whether you’re baking for a celebration or just craving a slice of comfort, this yellow cake delivers consistent, professional results. The instructions are straightforward, and the tips section covers everything from avoiding cracks to troubleshooting common issues. Let’s get started on a cake that’s as reliable as it is delicious.
Ingredients for all purpose flour yellow cake
Simple staples create a foolproof yellow cake with golden crust and moist layers every time.
| Ingredient | Amount | Notes |
|---|---|---|
| All-Purpose Flour 🌾 | 2 cups | Sifted for even texture |
| Granulated Sugar 🍚 | 1 ½ cups | White or light brown |
| Unsalted Butter 🧈 | 1 cup | Room temperature, full-fat |
| Large Eggs 🥚 | 2 whole | Room temperature, beaten |
| Buttermilk 🥛 | 1 cup | Room temperature, full-fat |
| Vanilla Extract 🌿 | 2 tsp | Pure, high-quality extract |
| Baking Powder 🧂 | 2 tsp | Double-acting, fresh |
| Baking Soda 🧂 | ½ tsp | Aluminum-free preferred |
| Salt 🧂 | ½ tsp | Fine sea salt |
| Vegetable Oil 🫒 | ¼ cup | Light, neutral flavor |
| Lemon Zest 🍋 | 1 tbsp | Optional, for brightness |
The flour is your foundation—King Arthur or Gold Medal brands work best for consistent results. Measure it by weight if possible (250g), but if using cups, spoon it in and level off for accuracy. The butter should be soft enough to press into the sugar but not greasy—room temperature is critical. For buttermilk, if you don’t have it on hand, mix 1 cup milk plus 1 tsp vinegar or lemon juice and let it sit for 5 minutes. The eggs need to be at room temperature to blend smoothly, so pull them out 30 minutes before mixing. Vanilla extract quality matters—look for pure vanilla in the baking aisle, not imitation.
No buttermilk? Substitute plain yogurt thinned with milk or even sour cream mixed with milk. Short on vanilla? Almond extract at half the amount works in a pinch, though the flavor will differ. The baking powder and soda are non-negotiable for proper rise—check the expiration date, as old leaveners lose potency. For a richer cake, replace half the all-purpose flour with cake flour (though it’s not strictly necessary). If you’re worried about cracks, reduce the oven temperature by 25°F for the first 10 minutes to help the crust set gradually. The lemon zest adds brightness but can be omitted if you prefer a classic vanilla flavor.
This batter keeps in the fridge for up to 24 hours if covered tightly, though it’s best used fresh. For make-ahead convenience, bake the cake, cool completely, then wrap tightly in plastic wrap. It stays fresh at room temperature for 3 days or in the fridge for 1 week. If freezing, slice first, wrap each piece individually, and store for up to 3 months. For serving, I always dust with powdered sugar and add a dollop of homemade whipped cream—simple but makes it feel special.
Why You'll Love This Recipe
- Pantry Staple Magic: I swear by this recipe because it uses things I always have: flour, sugar, butter, eggs, and buttermilk. No specialty ingredients, no last-minute grocery runs—just open the cabinet and go.
- Moisture Locked In: That buttermilk? It’s the secret weapon. The cake stays tender for days, not dry and crumbly like some box mixes. Honestly, I’ve had slices from this recipe last a week without needing extra frosting.
- Weeknight or Celebration: Same batter, endless uses. Bake it for a quick breakfast, slice it for a picnic, or layer it for a birthday cake. I’ll be real—my kids prefer the plain version with just a dusting of powdered sugar over anything fancy.
- Budget Baking Wins: This costs me about $3 for a full 9x13 pan. Leftovers? I freeze slices and toast them for breakfast—crispy edges, soft middle, zero waste. My wallet and my taste buds thank me every time.
Step-by-step instructions for perfect yellow cake
Here's the method that guarantees tender layers and a golden crust every time.
Cream Butter and Sugar Together
In a large mixing bowl, combine the 1 cup unsalted butter and 1.5 cups granulated sugar. Using an electric mixer on medium speed, beat for 3-4 minutes until the mixture is light and fluffy. You'll notice the texture nearly doubles in volume and becomes pale in color—this incorporates air that creates that tender cake crumb.
I always check for this visual cue by lifting the beater: the mixture should hold soft peaks. This step is critical for a moist cake—skipping it results in dense, cakey texture. Make sure your butter is at room temperature first; cold butter won't cream properly and will leave greasy spots in your cake.
Add Eggs and Buttermilk Gradually
Add the 2 whole eggs one at a time, mixing well after each addition. Then add the 1 cup buttermilk and mix until just combined. The mixture might look slightly curdled, but that's normal—the buttermilk's acidity will react with the baking soda later to create lift.
After adding the buttermilk, stir in the 2 teaspoons vanilla extract and 1 tablespoon lemon zest (if using). The lemon zest adds subtle brightness that complements the sweetness. Mix on low speed for 30 seconds to ensure even distribution—overmixing develops gluten and makes the cake tough.
Combine Dry Ingredients
In a separate bowl, whisk together the 2 cups all-purpose flour (sifted), 2 teaspoons baking powder, 0.5 teaspoon baking soda, and 0.5 teaspoon salt. Sifting the flour ensures even distribution of leavening agents and prevents dense pockets in the cake.
With the mixer on low speed, gradually add the dry ingredients to the wet mixture. Mix just until combined—you should still see small flour streaks. This prevents overdevelopment of gluten, which keeps the cake tender. Stop mixing as soon as the flour disappears from view.
Incorporate Oil and Final Mixing
Add the 0.25 cup vegetable oil and mix on low speed for 15 seconds until fully incorporated. The oil adds moisture and tenderness to the cake. Give the batter one final stir with a spatula to ensure everything is evenly distributed.
At this point, the batter should be thick but pourable. If it looks too thick, don't worry—the cake will rise properly in the oven. Pour the batter evenly into two greased and floured 8-inch round cake pans. I use parchment circles in the bottom of the pans to ensure easy removal and even baking.
Bake to Golden Perfection
Preheat your oven to 350°F and place the cake pans on the middle rack. Bake for 25-30 minutes until a toothpick inserted in the center comes out clean. The edges should be golden brown, but the top might still look slightly underdone—this is normal.
I always check for doneness by looking for a slight pull from the sides of the pan and that golden crust. If the top browns too quickly, tent the pans with foil after 15 minutes to prevent overbrowning. Let the cakes cool in the pans for 10 minutes before transferring to a wire rack to cool completely.
Pro Tips For Making All Purpose Flour Yellow Cake
- Cream Butter Properly: I learned this the hard way—beat the butter and sugar until the mixture is pale yellow and thick, not just crumbly. Use a stand mixer on medium-high for 3-4 minutes until the butter looks like wet sand. This isn’t just about sweetness; it’s what makes the cake tender and moist. ---
- Measure Flour Right: Spoon flour into the dry measuring cup, then level it off with a knife—don’t scoop directly from the bag. Packing it down (even a little) adds too much gluten, and you’ll end up with a dense, tough cake. Trust me, the difference is noticeable. ---
- Don’t Overmix the Batter: Stop folding in the buttermilk and flour as soon as the dry ingredients disappear—usually 10-12 strokes. Overmixing develops gluten, and suddenly your light, fluffy cake turns into a sad, chewy brick. Less is more here. ---
- Test for Doneness Early: Start checking for doneness with a toothpick at 25-30 minutes, not the full 35-40. The cake should pull out with a few moist crumbs, not wet batter. If you wait for a completely clean toothpick, you’ll dry out the cake faster than a summer sidewalk.
Troubleshooting great all purpose flour yellow cake
Cracked Cake Fix
Cracks on the top of your yellow cake usually mean the oven was too hot or the batter was overmixed. To prevent them, reduce the oven temperature by 25°F for the first 10 minutes of baking. If cracks appear anyway, don’t stress—just cover them with a thin layer of vanilla buttercream or a simple powdered sugar glaze (mix ½ cup powdered sugar with 1 tbsp milk). This creates a smooth finish that hides imperfections beautifully. 🌟
Dense or Dry Texture
If your cake turns out dense or dry, the issue is likely overmixing or insufficient fat. First, ensure your butter is room temperature and properly creamed—this incorporates air for a light texture. Also, check that your baking powder and soda are fresh (old leaveners lose potency). For extra moisture, add 1 extra tablespoon of vegetable oil or replace ¼ cup of the all-purpose flour with cake flour for a lighter crumb. Always mix dry ingredients just until combined to avoid gluten development.
Uneven Baking
Uneven baking often happens when the oven isn’t properly preheated or the cake pans aren’t evenly placed. Rotate the pans halfway through baking (after 15 minutes) to ensure even heat distribution. Use two identical 8-inch round pans and place them on the middle rack of your oven. If your oven runs hot, reduce the temperature by 10°F and add 5 minutes to the baking time. A toothpick test is key—insert it in the center; it should come out with a few moist crumbs, not wet batter.
Sunken Centers
Sunken centers usually indicate the cake wasn’t baked long enough or the oven temperature dropped. To fix this, bake the cake until a toothpick comes out clean (even if it means going 5 minutes past your initial time estimate). For future bakes, check your oven’s accuracy with an oven thermometer—many home ovens run 10-25°F hotter than set. If the issue persists, try baking at 325°F for 35-40 minutes instead of 350°F to allow slower, more even cooking.
Sticky or Gummy Cake
A gummy or sticky cake often means the batter was too wet or the cake wasn’t baked long enough. To adjust, reduce the buttermilk by 2 tablespoons or add 1 extra tablespoon of flour to the dry ingredients. If the cake is still sticky after baking, it might need more time in the oven—check for internal temperature of 190-200°F for perfect doneness. For a foolproof fix, let the cake cool completely before frosting, as residual heat can make it soggy. A light dusting of powdered sugar helps absorb excess moisture if needed.
Nutrition facts
Frequently asked questions
Why does my yellow cake turn out dry?
Dry cakes usually happen when the butter isn't properly creamed or the baking powder is old. Always use room temperature butter and cream it with sugar for 3-4 minutes until light and fluffy. Check your baking powder's expiration date—old leaveners lose potency. For extra moisture, add 1 extra tablespoon of vegetable oil or replace ¼ cup all-purpose flour with cake flour.
Can I substitute buttermilk in this recipe?
Mix 1 cup milk with 1 tablespoon vinegar or lemon juice and let it sit for 5 minutes to curdle. This works perfectly in place of buttermilk. For a richer texture, you can also use plain yogurt thinned with milk or sour cream mixed with milk. The acidity is what activates the baking soda for proper rise.
How do I prevent cracks on top of the cake?
Cracks form when the oven is too hot or the batter rises too quickly. Reduce your oven temperature by 25°F for the first 10 minutes of baking. If cracks appear, cover them with a thin layer of vanilla buttercream or a simple powdered sugar glaze (mix ½ cup powdered sugar with 1 tablespoon milk). This creates a smooth finish that hides imperfections beautifully.
What's the best way to store leftover yellow cake?
Wrap cooled cake tightly in plastic wrap and store at room temperature for 3 days. For longer storage, refrigerate for up to 1 week or freeze individual slices for 3 months. To maintain moisture, place a slice of bread in the container with the cake—it absorbs excess moisture and keeps the cake fresh longer.
Can I add mix-ins like chocolate chips or fruit?
Yes! Fold in ½ cup chocolate chips, ½ cup chopped nuts, or 1 cup berries after combining wet and dry ingredients. For fruit, toss it in 1 tablespoon flour first to prevent sinking. Keep mix-ins to 1 cup total to maintain the cake's structure. Citrus zest or spices like cinnamon also work beautifully.