
Desserts
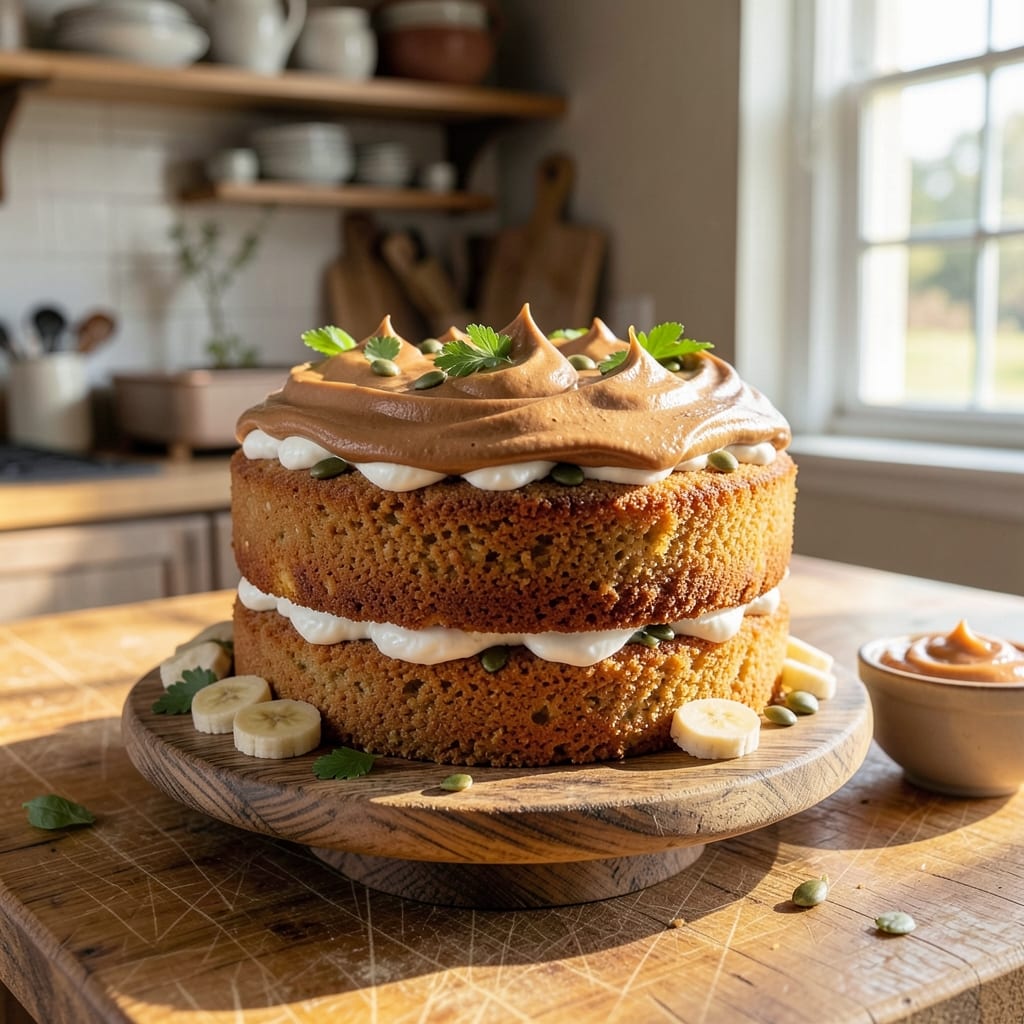
Your pup deserves a treat as special as they are—this allergy-free dog cake recipe delivers a safe, vet-approved dessert that’s just as delicious for them as it is for you. ✨ Made with simple, non-toxic ingredients like oat flour and peanut butter, it’s free from common allergens and packed with protein to keep tails wagging. The secret lies in balancing moisture and texture so every bite is soft yet sturdy enough for excited paws to handle.
What sets this recipe apart is its foolproof simplicity—no fancy equipment, just a bowl, whisk, and oven. You’ll mix, bake, and cool in under 30 minutes, leaving you with a cake that’s perfect for celebrations or just because. The peanut butter base adds richness without overpowering, while a touch of pumpkin ensures digestive ease. Portion control is built in, so you can serve small slices as rewards or share the whole batch with a pack of pups.
Safety is the top priority here—no chocolate, xylitol, raisins, or artificial sweeteners that could harm your dog. Every ingredient is carefully chosen to be gentle on sensitive stomachs while still being irresistible. The result? A cake that’s soft, moist, and packed with flavor, making it the ideal treat for birthdays, training milestones, or just because your furry friend deserves a little joy. Let’s get baking!
Once cooled, this cake holds beautifully for up to 5 days in the fridge or can be frozen for longer storage. For extra fun, top with a dollop of plain Greek yogurt or a sprinkle of crushed vet-approved dog biscuits. Always introduce new treats gradually and consult your vet if your pup has specific dietary needs. Here’s to happy, healthy pups—and their humans who love them just as much!
Ingredients for allergy free dog cake
These simple, pup-safe ingredients blend into a moist, protein-packed cake your dog will adore.
| Ingredient | Amount | Notes |
|---|---|---|
| Oat Flour 🌾 | 1 ½ cups | Blended from certified gluten-free oats |
| Natural Peanut Butter 🥜 | ½ cup | Xylitol-free, unsweetened preferred |
| Canned Pumpkin Puree 🎃 | ½ cup | 100% pure, no spices added |
| Unsweetened Applesauce 🍎 | ¼ cup | For moisture and binding |
| Egg 🥚 | 1 whole | Room temperature for best mixing |
| Plain Greek Yogurt 🥛 | ¼ cup | Unflavored, full-fat preferred |
| Honey 🍯 | 2 tbsp | Raw, unprocessed preferred |
| Baking Powder 🧂 | 1 tsp | Aluminum-free for sensitive pups |
| Cinnamon 🌿 | ½ tsp | Ground, vet-approved amount |
| Vanilla Extract 🌸 | 1 tsp | Pure, alcohol-free preferred |
| Coconut Oil 🥥 | 2 tbsp | Melted for moisture (virgin preferred) |
| Water 💧 | ¼ cup | Room temperature for mixing |
| Vet-Approved Dog Biscuits 🐕 | ¼ cup | Crushed, for optional topping |
The peanut butter is non-negotiable here—natural, xylitol-free brands like Smucker's Natural or Crazy Richard's are safe bets. For oat flour, Bob's Red Mill makes a certified gluten-free version that works perfectly. Pumpkin puree should be 100% pumpkin, no spices—Libby's plain canned pumpkin is a reliable choice. If you're unsure about any ingredient, check with your vet first. The coconut oil adds richness without dairy, and the Greek yogurt gives it that soft, cake-like texture. I always grab the plain, unflavored kind from Trader Joe's—it's a pantry staple that keeps for weeks.
No peanut butter? Sunflower seed butter works just as well—just make sure it's also xylitol-free. Short on pumpkin? Sweet potato puree at the same amount adds moisture without changing flavor. The honey can be swapped for maple syrup if your pup is sensitive to it. For extra protein, add 1 tbsp of cooked ground turkey or chicken (make sure it's plain, no seasoning). The baking powder is key for rise—Bob's Red Mill aluminum-free is my go-to. If you're baking for a pup with allergies, skip the cinnamon and vanilla entirely—the cake will still be delicious.
This cake keeps beautifully in an airtight container for 5 days in the fridge or up to 3 months in the freezer. For portion control, cut into small squares—each piece is about 1 oz. I like to freeze individual portions on a tray first, then transfer to a bag for easy serving. The texture stays soft even after freezing, so it's perfect for quick rewards. Always introduce new treats gradually, and watch for any reactions—especially if your pup has food sensitivities. Leftovers? Toss them in the freezer for next time—it's always better to have extra pup-friendly treats on hand.
Why You'll Love This Recipe
- Pantry-Friendly Magic: I swear by this recipe because it uses stuff I already have—no special trips to the store. That jar of peanut butter? The can of pumpkin sitting in the cupboard? Mix, bake, and your pup’s tail wags harder than mine when I pull it out.
- No-Bake Crust: Honestly, the oat flour base is my secret weapon. It’s sturdy enough to hold shape but crumbles like a dream—no fancy rolling or cutting required. Just press it in, pop it in, and you’ve got a cake base that’s foolproof every time.
- Tail-Wagging Versatility: This cake is my go-to for birthdays, training treats, or just because. Swap the applesauce for yogurt if your dog loves it, or add a sprinkle of cinnamon for extra flair. It’s the one recipe that never lets me down, no matter the occasion.
- Budget Breakthrough: Between us, this costs pennies per serving. The ingredients are cheap, last forever, and you’re not buying expensive dog treats that disappear in a week. Plus, leftovers? Freeze them—no waste, just happy pups.
Step-by-step instructions for allergy-free dog cake
Let's make a pup-friendly treat your dog will love—simple, nutritious, and packed with flavor!
👨🍳 Step 1: Mix Wet Ingredients for Perfect Texture
In a medium bowl, whisk together the 0.5 cup natural peanut butter, 0.5 cup canned pumpkin puree, and 0.25 cup unsweetened applesauce until smooth. This combination creates a moist, flavorful base that binds the cake beautifully. Next, add the 1 whole egg, 0.25 cup plain Greek yogurt, 2 tbsp honey, 1 tsp vanilla extract, and 2 tbsp melted coconut oil. Mix until fully combined—you should see a thick, creamy batter with no lumps.
Here's the thing—this is where the magic happens. The peanut butter and pumpkin provide protein and fiber, while the applesauce and yogurt add moisture without extra fat. The honey and vanilla extract give that irresistible sweetness dogs go crazy for. Stir in the 0.25 cup water last to reach the perfect consistency for spreading.
👨🍳 Step 2: Combine Dry Ingredients for Light Fluffiness
In a separate bowl, sift together the 1.5 cups oat flour, 1 tsp baking powder, and 0.5 tsp cinnamon. This step ensures even distribution of the leavening agent, which is crucial for a light, fluffy cake. Gently fold the dry ingredients into the wet mixture using a spatula, mixing just until combined—overmixing can make the cake dense. You'll know it's ready when no dry spots remain and the batter holds its shape when spooned.
I like to use a gentle folding motion here to maintain air bubbles from the wet ingredients. The cinnamon adds warmth without overpowering, and the baking powder ensures a nice rise. If the batter looks too thick, add 1-2 teaspoons more water until it reaches a spreadable consistency, similar to pancake batter.
🔥 Step 3: Prep and Bake the Cake
Preheat your oven to 350°F and line an 8-inch round cake pan with parchment paper or lightly grease it with coconut oil. Pour the batter into the prepared pan and smooth the top with a spatula. For extra flavor, sprinkle the 0.25 cup crushed vet-approved dog biscuits evenly over the top—this adds a delightful crunch and makes it look festive!
Bake for 20-25 minutes or until a toothpick inserted into the center comes out clean. Here's the key: the edges should be golden brown, but the center should still feel slightly soft—this ensures perfect moisture. If your oven runs hot, check at the 18-minute mark. Let the cake cool in the pan for 10 minutes before transferring to a wire rack to cool completely.
⏰ Step 4: Serve with Joy and Safety First
Once fully cooled, slice the cake into 4 equal servings for your pup's celebration. The texture should be moist but firm, with a subtle cinnamon aroma that's irresistible. Serve at room temperature for the best experience—this cake keeps well in the fridge for up to 5 days if wrapped tightly in plastic wrap.
Remember, always introduce new treats gradually to avoid upsetting your dog's stomach. This cake is packed with protein, fiber, and natural sweetness without any harmful additives—just pure tail-wagging goodness. Store any leftovers in an airtight container, and you've got a ready-to-serve treat for future occasions!
Pro Tips For Making Allergy Free Dog Cake
- STIR THE PEANUT BUTTER: Mix the natural peanut butter into the wet ingredients until it’s completely smooth—no streaks, no lumps. I learned this the hard way when my dog’s cake turned out like a peanut butter science experiment, and trust me, Fido doesn’t care for texture surprises.
- USE ROOM-TEMP EGG: Let that egg sit out for 10-15 minutes before cracking it into the batter. Cold eggs can make the oat flour dough fight you, and nobody wants to wrestle with cake batter when you’re just trying to make your pup happy.
- MEASURE PUMPKIN PRECISELY: Scoop the canned pumpkin puree straight from the can—don’t eyeball it. Too much, and your cake turns into a pumpkin pudding; too little, and it’s just dry oat flour. A kitchen scale or proper measuring cup makes this the thing that matters most.
- BAKE UNTIL 205°F: Your dog cake is done when the center hits 205°F, not when it looks done. Oat flour cakes can fool you—underbaked means gummy, overbaked means dry, and neither wins tail wags. A toothpick test works, but the thermometer never lies.
Make-ahead tips for this dish
Prep Ahead for Pup Parties
Bake the entire cake 1 day ahead and store it in an airtight container at room temperature. The flavors deepen overnight, and the texture stays perfectly moist. I like to wrap it in parchment paper before sealing to prevent drying. For extra convenience, freeze individual slices on a tray first, then transfer to a bag—just thaw for 10 minutes before serving. 🐾
Portion Control Made Easy
Cut the cooled cake into 16 equal 1-ounce portions using a pizza cutter or sharp knife. Each serving is the perfect size for a 10-pound dog—adjust based on your pup’s weight. Label portions with masking tape if you’re prepping for multiple pups, and store in a clear container so you can see the treats at a glance. This keeps treats organized and ready for training rewards or celebrations.
Freezer-Friendly Storage
For long-term storage, freeze the cake in single-serving portions wrapped tightly in plastic wrap and placed in a freezer bag. It stays fresh for up to 3 months without losing moisture. When ready to serve, let it thaw at room temperature for 30 minutes—microwaving can dry it out. I always keep a stash of these in my freezer for last-minute surprises or vet visit treats. ❄️
Batch Baking for Packs
Double the recipe and bake two cakes at once for a pack of pups or future gatherings. Use two 8-inch pans or one 9x13-inch pan for easier slicing. Store each cake separately in individual containers to maintain freshness. This way, you’re always prepared for birthday parties, training milestones, or just because your furry friends deserve a little extra love. 🎉
Garnish Before Storing
Add toppings like a dollop of plain Greek yogurt or a sprinkle of crushed vet-approved biscuits right after baking, but before storing. These toppings add extra flavor and make the cake look festive. Just be sure to store the cake with the toppings in an airtight container to keep everything fresh. The yogurt adds a creamy contrast, while the biscuits give a satisfying crunch. 🥛
Nutrition facts
Frequently asked questions
Can I use this recipe for dogs with grain allergies?
This recipe is designed to be grain-free friendly! While it uses oat flour, you can easily substitute it with 1.5 cups of almond flour or coconut flour for a completely grain-free version. Just note that coconut flour absorbs more liquid, so you may need to add 1-2 extra tablespoons of water to the batter. Always check with your vet first if your dog has severe allergies.
What if my dog doesn't like peanut butter?
No problem! Swap the peanut butter for sunflower seed butter or oat butter—both are safe and allergy-friendly alternatives. Just make sure they're free from xylitol and other additives. The recipe will still turn out moist and delicious with these substitutes. For extra protein, you could also add 1 tablespoon of cooked ground chicken or turkey (unseasoned) to the batter.
How do I adjust the recipe for a larger dog?
For dogs over 30 pounds, you can safely increase the portion size to 2 ounces per serving (about 2 slices). For very large breeds, double the entire recipe and bake in a 9x13-inch pan instead. Always monitor your dog's reaction to new treats, especially if they have dietary sensitivities. The cake's moisture content makes it easy to cut into larger pieces without drying out.
Can I add other fruits or veggies to this cake?
Yes! You can mix in 1/4 cup of mashed banana or 1/4 cup of grated carrot for extra nutrients and natural sweetness. Just be sure to introduce new ingredients gradually and avoid anything toxic like grapes, raisins, or avocado. The pumpkin and applesauce already provide moisture, so don't exceed 1/4 cup total of additional mix-ins to maintain the right texture.
What should I do if my dog has never had baked treats before?
Introduce this cake slowly—start with just 1 small bite and watch for any reactions like vomiting, diarrhea, or itching over the next 24 hours. Since this recipe is made with simple, vet-approved ingredients, it's generally safe, but every dog's tolerance varies. If your pup has known allergies, consult your vet before serving. For nervous pups, try serving it with their regular food first to make it more familiar.