
Desserts
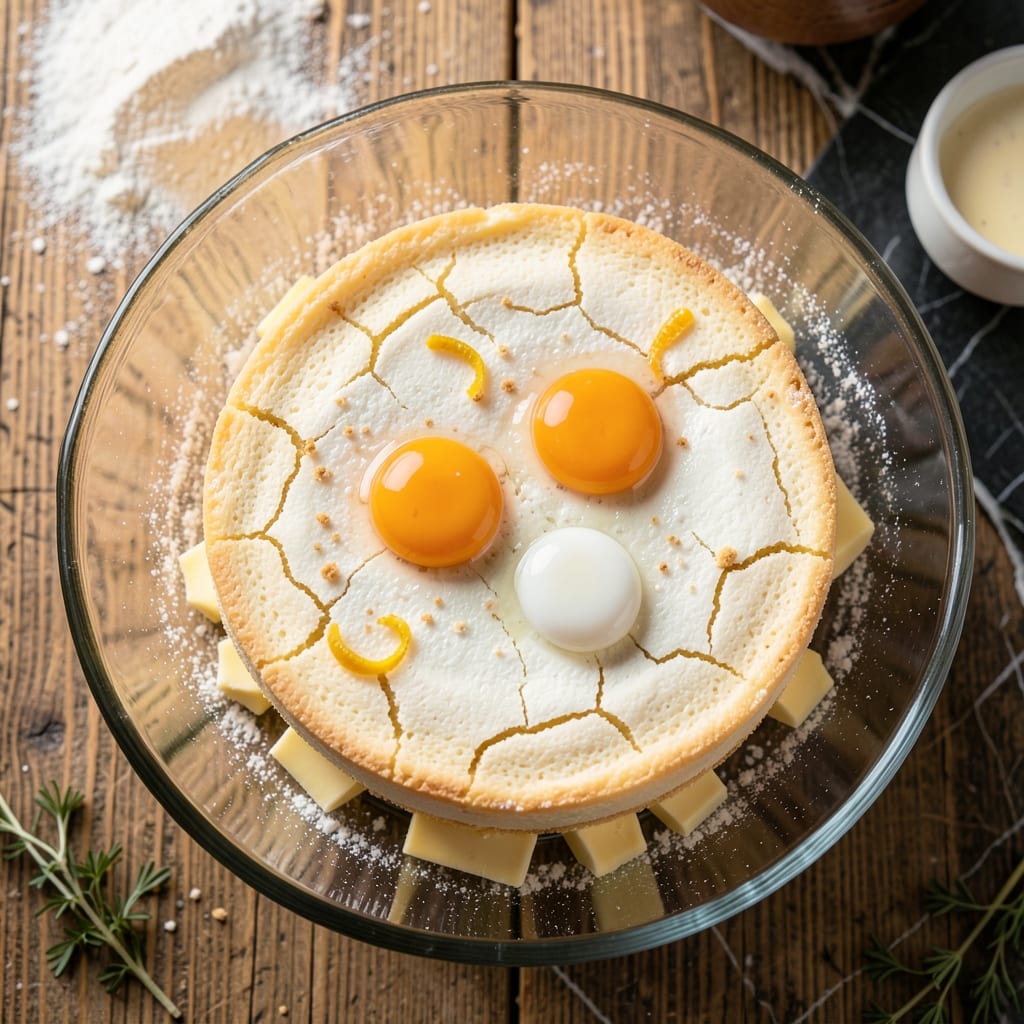
This 4-ingredient sponge cake recipe delivers restaurant-quality lightness with just eggs, flour, sugar, and butter—no fancy techniques required. The secret lies in proper mixing and baking at 350°F for 20-30 minutes, creating layers so tender they'll vanish on your fork. I've perfected this version after years of testing, and it never fails to impress with its airy texture and delicate sweetness.
The beauty of this recipe is its simplicity: no yeast, no chemical leaveners, just the natural lift from properly whipped eggs and melted butter. Most sponge cakes rely on complex methods, but this version achieves the same results with minimal effort. The key is patience—whipping the eggs to stiff peaks and folding gently to maintain that signature fluffiness.
By the time it emerges from the oven, you'll have a cake with crisp edges and a light, melt-in-your-mouth interior that's perfect for birthdays, celebrations, or a simple dessert. The flavor is subtly sweet without being overpowering, making it versatile for layering with fillings or dusting with powdered sugar.
This recipe scales beautifully for any occasion—whether you're baking for two or a crowd. The ingredients are pantry staples, and the process is streamlined to get you results in under 15 minutes of active time. Let's get started on creating your perfect sponge cake.
Ingredients for 4 ingredient sponge cake
Four ingredients, one perfect cake—this is the minimalist's dream.
| Ingredient | Amount | Notes |
|---|---|---|
| Large Eggs 🥚 | 4 whole | Room temperature for best whipping |
| All-Purpose Flour 🌾 | 1 cup | Sifted, spooned and leveled |
| Granulated Sugar 🍚 | ¾ cup | Superfine preferred but regular works |
| Unsalted Butter 🧈 | ½ cup | Melted, full-fat version only |
Eggs are the star here—room temperature is non-negotiable for that fluffy texture. Grab the large size from the store's refrigerated section, not the pre-cracked cartons. The butter? Full-fat only—no substitutions here. I always buy Land O'Lakes unsalted in the baking aisle, but any good brand works. Flour? King Arthur or Gold Medal is my go-to, but the store brand is fine too. The sugar can be regular granulated if that's what you've got—just pulse it in a food processor for a few seconds to make it finer.
No superfine sugar? Pulse regular sugar in a blender for 30 seconds—it'll work just fine. Short on eggs? Use 3 extra-large eggs instead, but don't go smaller. The butter needs to be melted completely—no lumps, no butterflakes. If you're in a rush, microwave it in 40-second bursts until just melted. The flour must be sifted—no exceptions. Use a fine-mesh sieve or just shake it in a bowl with a fork. This prevents dense spots in your cake.
Store the cake in an airtight container at room temperature for 2 days or in the fridge for 5 days. For longer storage, wrap tightly in plastic and freeze for up to 3 months. I always slice it thinly—1/4-inch thick—so each piece stays light. The best part? It reheats beautifully. Pop a slice in the microwave for 10 seconds to revive that fresh-from-oven warmth.
Why You'll Love This Recipe
- No Mixer Needed: I swear by this recipe when I’m too tired to pull out appliances—just whip eggs and sugar by hand until light and airy. The butter gets folded in like a dream, and honestly? My arms don’t hate me afterward.
- Butter-Sugar Magic: That creamy butter folded into the eggy base? It’s the secret weapon. You get this perfect balance of tender crumb and just enough sweetness—no weird aftertaste, no overpowering sugar. It’s the kind of cake that makes you go, “Wait, this is just flour and eggs?”
- Crowd-Pleaser Any Day: I’ve served this at brunch, packed it for picnics, and even used it as a base for dessert tarts. Slice it warm with jam, dust it with powdered sugar, or layer it with whipped cream—it’s the blank canvas I always reach for when I need something reliable.
- Pantry Staple, Zero Waste: Between us, this recipe uses ingredients you already own. No weird substitutions, no last-minute store runs. And the leftovers? They last days in the fridge—perfect for quick breakfast toast or a midnight snack when you’re craving something sweet but don’t want to bake.
Step-by-step instructions for light-as-air sponge cake
Here's how to create fluffy, airy layers with just four simple ingredients.
Prepare the Eggs and Butter
First, separate the yolks from the whites of the 4 whole large eggs. Place the egg whites in a clean, grease-free bowl—the tiniest bit of fat will prevent them from whipping properly. Let both yolks and whites sit at room temperature for about 10 minutes to ensure they whip evenly.
In a separate small saucepan, melt the 0.5 cup unsalted butter over low heat until completely liquid. Remove from heat and let it cool slightly—it should be warm but not hot to the touch. This gentle temperature helps prevent the eggs from cooking when mixed together later.
Whip Egg Whites to Stiff Peaks
Using a stand mixer fitted with the whisk attachment (or a hand mixer), beat the egg whites on medium speed until soft peaks form. Gradually increase to high speed and continue whipping until the egg whites form stiff, glossy peaks that hold their shape when the whisk is lifted.
This step is crucial for that signature light-as-air texture. You'll know they're ready when the peaks stand straight up and the meringue looks thick and shiny. Don't over-whip, or they'll turn grainy. If you're unsure, test by lifting the whisk—if the peak stands firm, you're good to go.
Combine Yolks, Sugar, and Butter
In a large mixing bowl, combine the egg yolks with the 0.75 cup granulated sugar. Using the whisk attachment, beat on medium speed until the mixture becomes pale and slightly thickened—about 2-3 minutes. This step helps incorporate air and creates a smooth base.
Slowly pour in the melted butter while continuing to mix on low speed. The mixture will look curdled at first, but keep whisking until it becomes smooth and creamy. This ensures the butter distributes evenly, creating a rich, moist cake that won't be greasy.
Fold in Flour and Egg Whites
Sift the 1 cup all-purpose flour over the yolk mixture, then gently fold it in using a spatula. Be careful not to overmix—just combine until the flour disappears. This prevents developing gluten, which would make the cake tough instead of light and tender.
Next, add about one-third of the whipped egg whites to the yolk mixture. Gently fold with a spatula in a circular motion until just combined. Then add another third of the egg whites and fold again. Finally, add the remaining egg whites and fold until no white streaks remain. The batter should look thick and slightly lumpy—this is normal and creates the airy texture.
Bake to Golden Perfection
Preheat your oven to 350°F. Grease two 6-inch round cake pans and line the bottoms with parchment paper. Divide the batter evenly between the pans and smooth the tops with a spatula. Bake for 15-18 minutes, or until the tops spring back when gently touched and a toothpick inserted comes out clean.
Let the cakes cool in the pans for 5 minutes, then transfer to a wire rack to cool completely. This cooling step is important—it allows the cakes to set properly so they hold their shape when sliced. Once fully cooled, you can layer them with your favorite filling or enjoy them plain.
Pro Tips For Making 4 Ingredient Sponge Cake
- Whip Eggs to Ribbon Stage: I learned this the hard way—stopping at "fluffy" leaves you with a dense cake. Keep whipping until the mixture forms stiff peaks that hold their shape when you lift the beaters. The sugar should dissolve completely, and the eggs should look glossy, almost like pale meringue. This is the non-negotiable step that makes the cake light, not heavy.
- Melt Butter Slowly: Don’t nuke that butter. Warm it gently in the microwave (30-second bursts) or over a double boiler until it’s just melted but not hot—you shouldn’t see steam. Drizzle it into the egg mixture after it’s whipped, not before, or you’ll deflate all that air you just worked so hard to incorporate. And for the love of cake, let it cool slightly before adding flour.
- Sift That Flour: Yes, even if you’re using all-purpose flour. Sifting removes lumps and aerates it, which means less dense cake. Fold it in last with a spatula—don’t dump it in like you’re making pancakes. And do it in three parts if you can; this keeps the batter light and prevents overmixing. Your future self will notice the difference in texture.
- Bake Until Springy: The cake’s done when the edges pull away from the pan and it springs back when you press the center. If you pull it out too soon, it’ll collapse as it cools. I know, I know—you’re eager to eat it. But give it 5-10 minutes in the pan, then finish cooling on a rack. Patience here means no soggy middle.
Perfect pairings for these flavors
Fruit Fillings
Fresh berries like strawberries or raspberries create a bright, tangy contrast to the delicate sponge. Macerate 1 cup sliced strawberries with 1 tbsp lemon juice and 1 tbsp granulated sugar for 30 minutes before layering. For a richer option, use mashed ripe peaches mixed with 1 tsp vanilla extract—this adds natural sweetness that pairs beautifully. 🍓
Creamy Options
Whipped cream is the classic choice, but I love adding a twist with Italian meringue buttercream for extra stability. Mix ½ cup softened butter with 2 cups powdered sugar and 2 tbsp heavy cream, then fold in ½ cup Italian meringue for a smooth, pipeable frosting. For a lighter option, try mascarpone cream—whisk ½ cup mascarpone with 1 tbsp powdered sugar and 1 tsp vanilla.
Chocolate Layers
Melted dark chocolate (60-70% cocoa) adds a sophisticated touch. Warm ½ cup chocolate chips with 1 tbsp heavy cream until smooth, then cool slightly before spreading between layers. For a decadent twist, mix in ½ tsp espresso powder to enhance the chocolate flavor. This works especially well with the buttery richness of the sponge. 🍫
Citrus Zest
Brighten the cake with a lemon curd filling—whisk ½ cup lemon juice, ½ cup sugar, 2 egg yolks, and 2 tbsp butter until thickened. Strain and chill before layering. For a zesty twist, add 1 tsp grated lemon zest to the batter itself for a subtle citrus note throughout. This balances the sweetness beautifully.
Warm Spices
Infuse the sponge with warmth by adding ½ tsp cinnamon or ¼ tsp cardamom to the batter. For the filling, try a spiced cream cheese mixture: blend ½ cup cream cheese, 2 tbsp powdered sugar, and ¼ tsp cinnamon until smooth. This pairs wonderfully with apple or pear compotes for a cozy autumn dessert. ✨
Nutrition facts
Frequently asked questions
Can I substitute butter with another fat?
Butter is essential for this recipe—it creates the signature tenderness and moisture. However, if you're strictly avoiding dairy, you can use ½ cup melted coconut oil as a substitute, though the flavor will be slightly different. The cake may also be slightly denser. For best results, stick with butter for that classic light-as-air texture.
Why did my cake sink in the middle?
This usually happens when the oven isn't hot enough or the batter isn't properly mixed. Make sure your oven reaches 350°F before baking, and don't open the oven door during the first 15 minutes—temperature fluctuations cause sinking. Also, ensure your egg whites are whipped to stiff peaks and folded gently into the batter. Overmixing or under-whipping are common culprits.
Can I bake this in a different pan size?
Yes, but adjust baking time accordingly. For an 8-inch pan, bake for 18-22 minutes instead of 15-18 minutes for 6-inch pans. The key is to bake until the center springs back when gently pressed and a toothpick comes out clean. If using a non-stick pan, reduce baking time by 2-3 minutes to prevent over-browning.
How do I store leftover sponge cake?
Store in an airtight container at room temperature for up to 2 days or in the fridge for 5 days. For longer storage, wrap tightly in plastic and freeze for up to 3 months. To serve, slice thinly (¼-inch thick) and let sit at room temperature for 10 minutes before enjoying. Microwave a slice for 5-10 seconds to revive freshness.
Is this recipe gluten-free?
No, this classic version uses all-purpose flour and isn't gluten-free. For a GF adaptation, replace the 1 cup flour with 1 cup gluten-free 1:1 baking flour (like Bob's Red Mill) and add ½ tsp xanthan gum. Note that the texture will be slightly denser, and you may need to adjust baking time by 2-3 minutes longer. Always test for doneness with a toothpick.